 Develofly Autopilot
Flows, in plain terms
- Triggers: start a flow by hand, on a schedule, when a file arrives, when another flow finishes, when an email arrives, from a web address, or from a chat command.
- Blocks: If / else, Split and Merge for parallel branches, Wait, Approve (a person says yes before the flow continues), For each for looping over a list, and Transform for reshaping data.
- Typed connections: you draw a line from one card's output to the next card. Connections carry named values, and Autopilot checks the whole flow — missing inputs and mismatched links are flagged before a run, not during it.
- Your bots and templates: every bot you have made is a card, and so are the 68 templates.
Schedules that keep working
A schedule trigger saved into a flow is registered with the scheduler automatically. Schedules can run through the background service, so timed bots and flows keep firing even when the Autopilot window is closed. The Schedules page lists everything that is due, and every run — manual or scheduled — lands in Runs with its results.
Before you run, it checks
Check flow walks every card and link: unconnected inputs, loops with no list to loop over, branches that lead nowhere. Problems are listed in plain language so you can fix the drawing, not debug a failed run.
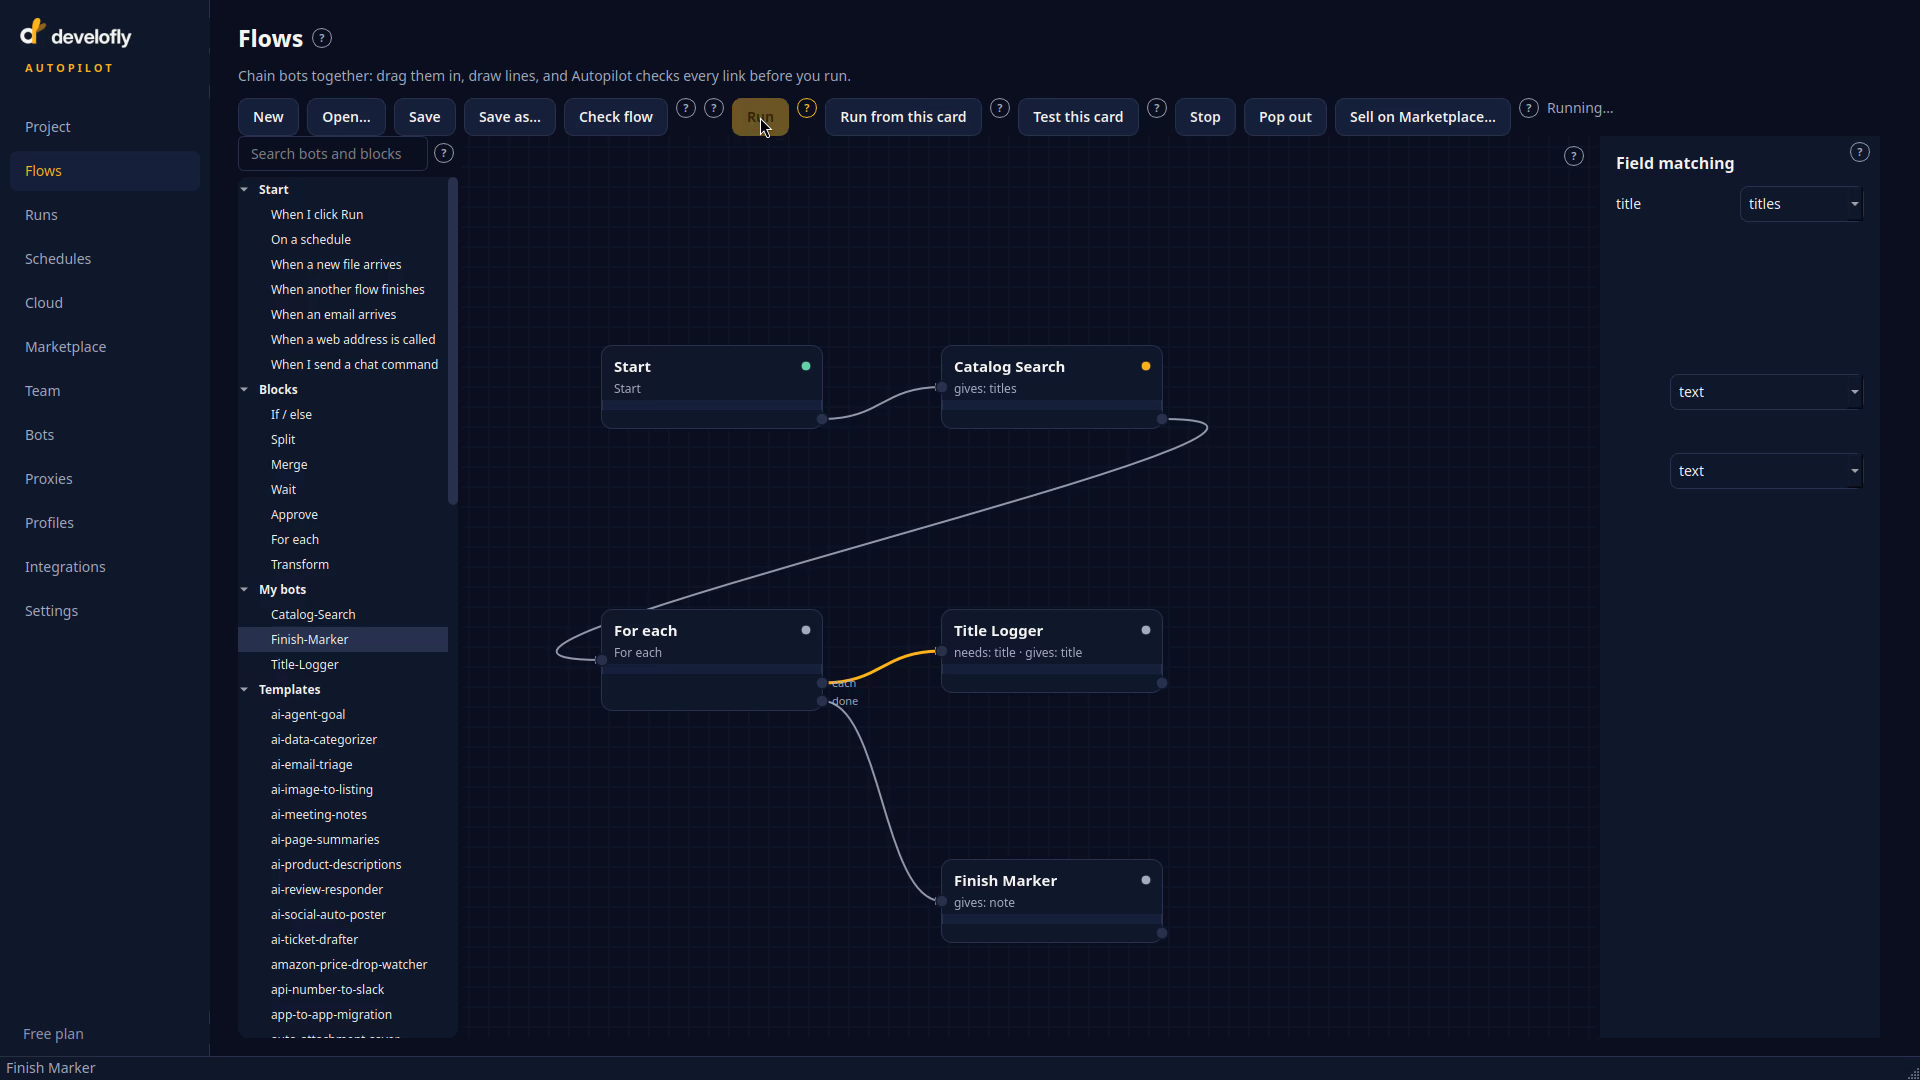
The Flows canvas: palette on the left, cards and connections in the middle, and the selected card's settings on the right.
Watch: one complete bot, built start to finish
The full walkthrough below builds a working chain from a blank canvas — three small bots, one flow, a real run, and a schedule — against a harmless demo catalog page, so nothing real is touched. The bots themselves are built in the Project editor: that is where a bot's steps are created and edited. A saved bot then appears in the Flows palette, ready to drop onto the canvas as a card.
Watch: the guided tour — record, build, run, schedule
The narrated walkthrough of the same build, chapter by chapter.
Chapters
- Meet the demo catalog page
- Bot 1 — Catalog Search: open the page and search
- Bot 1 — collect every matching title
- Bot 2 — Title Logger: a form field and a result row
- Bot 3 — Finish Marker
- The flow: cards on the canvas
- Drawing the connections and the loop mapping
- Check flow, then Run — three titles in the results
- Adding the schedule trigger and saving the flow
The same build, step by step
The demo page is a tiny local book catalog: a search box (#q), a Search button (#go), and a list of seven books, each title marked with the class .book-title. Searching for "dune" leaves exactly three titles on the page: Dune, Dune Messiah and Children of Dune. The bots below search it, loop over those three titles, save one result row per title, and finish with a marker row — then the whole flow is put on a daily schedule. Steps 1–6 happen in the Project editor, where bots are made; from step 7 the saved bots are arranged in Flows.
Step 1 — Name the first bot
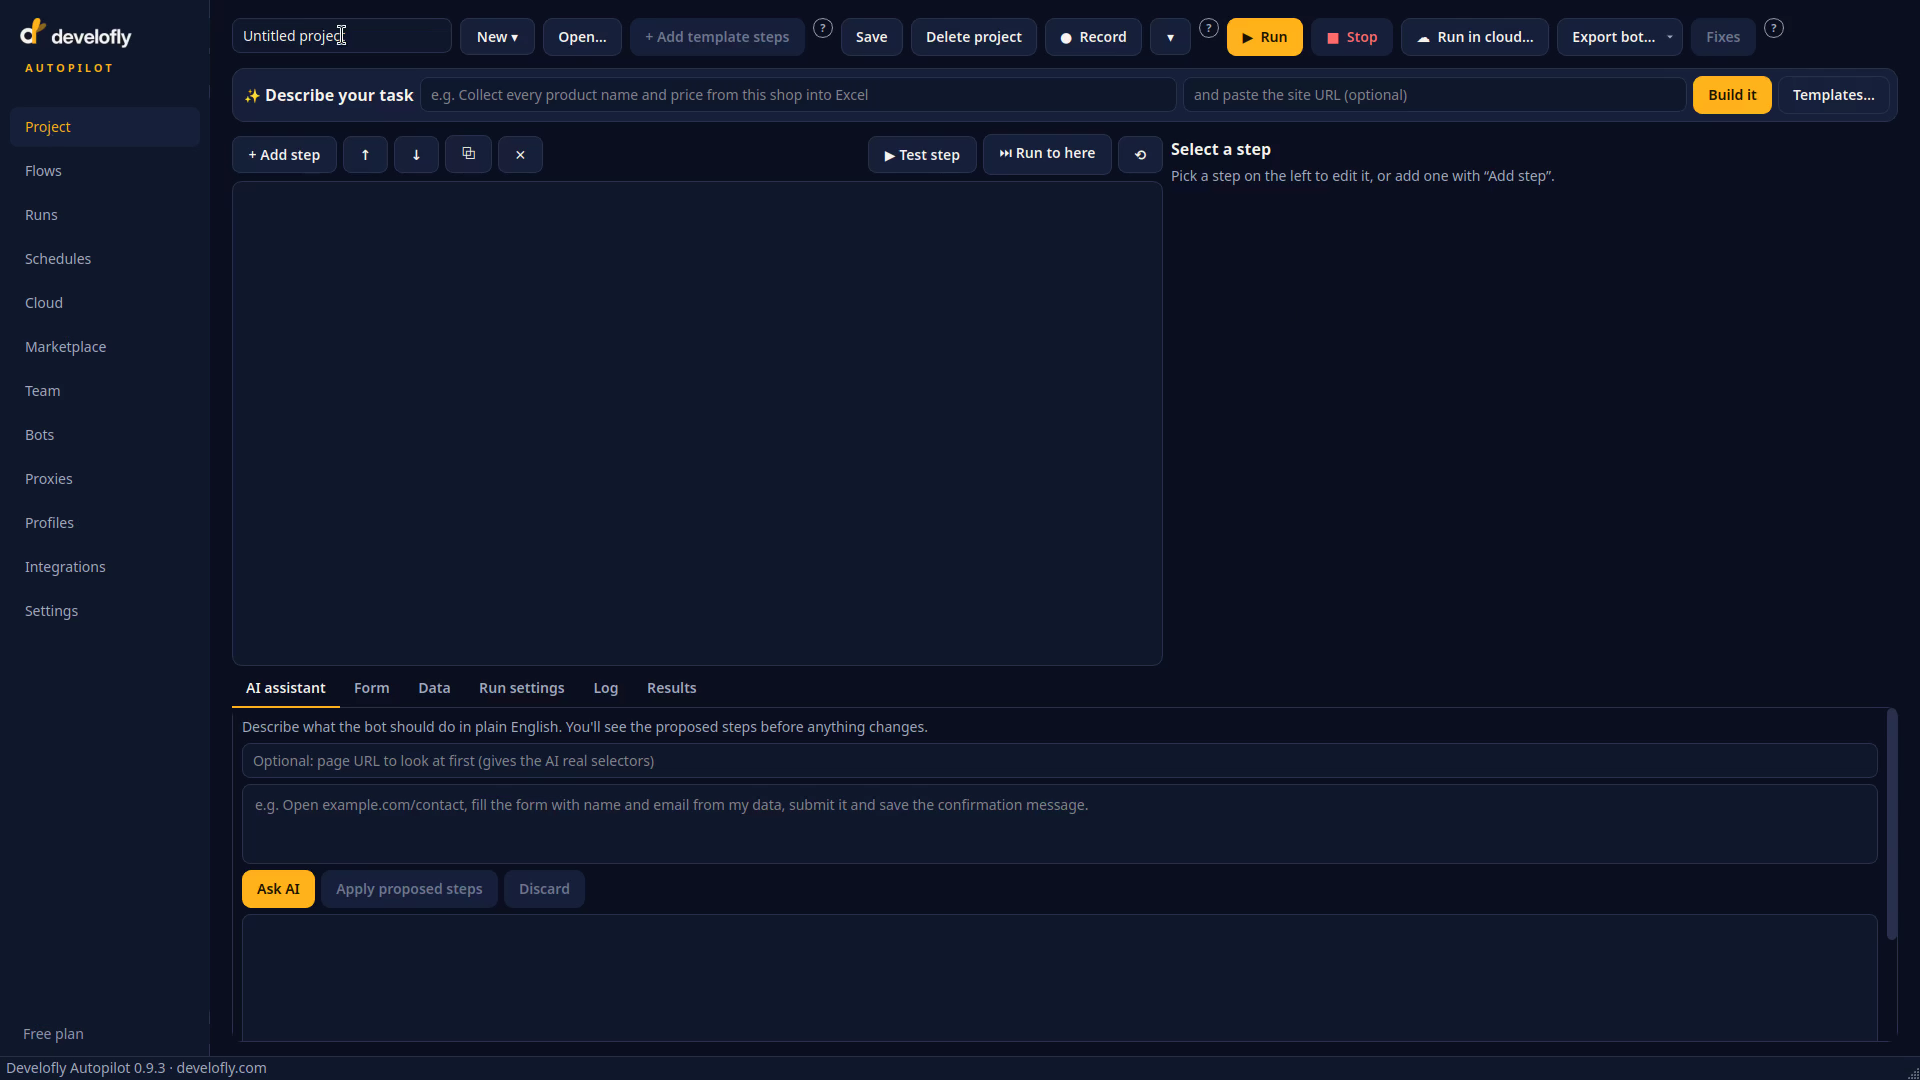
On the Project page, start a blank project and name it Catalog Search. This bot does the searching; the other bots in the chain each do one small job.
Step 2 — Open the catalog and search it
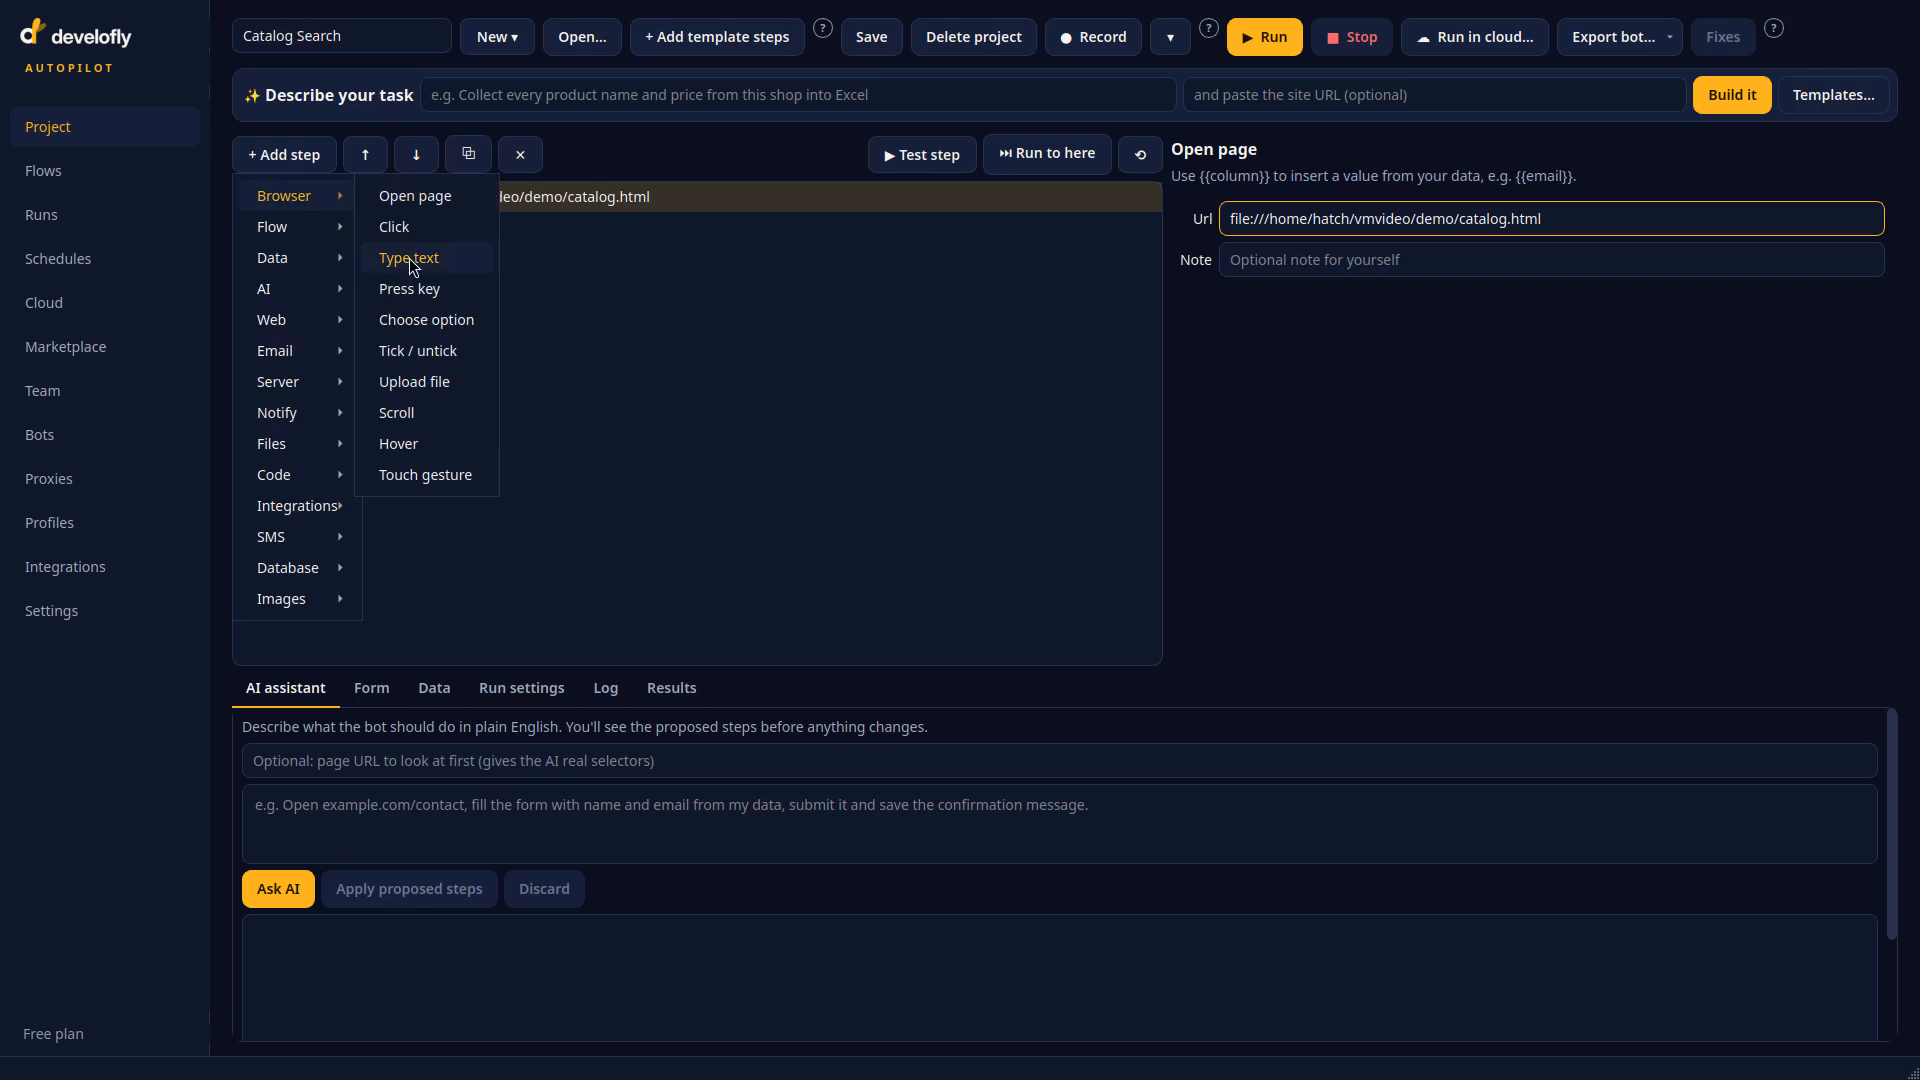
Add an Open page step pointing at the demo catalog file. Add a Type text step: selector #q, text dune. Add a Click step for the search button, #go. The page now filters itself down to the three Dune titles.
Step 3 — Collect every matching title
Add a Get data step: selector .book-title, save as titles, and tick All so the bot collects every match, not just the first. The bot now ends holding a list of three titles in the variable {{titles}}.
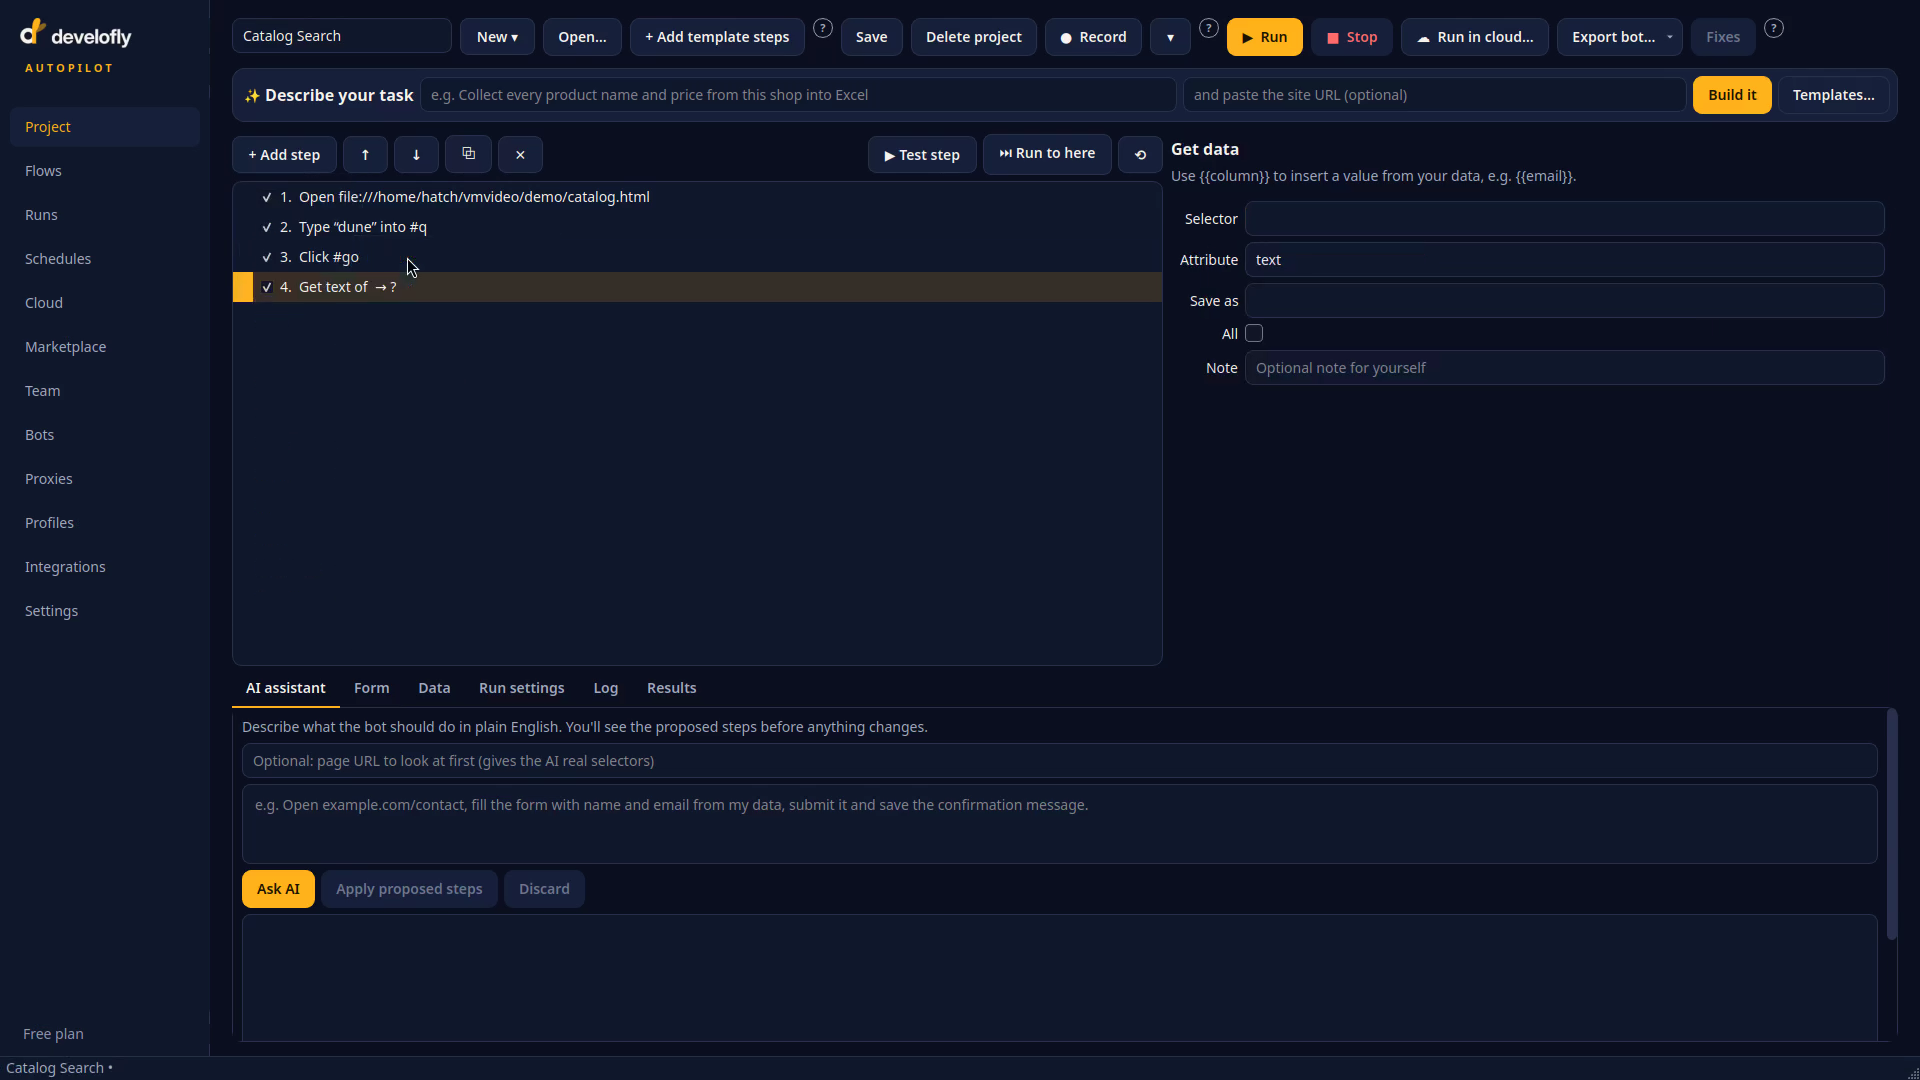
Step 4 — Save the bot
Press Save and keep the offered name, Catalog-Search. Saved bots appear in the Flows palette under My bots, ready to become cards.
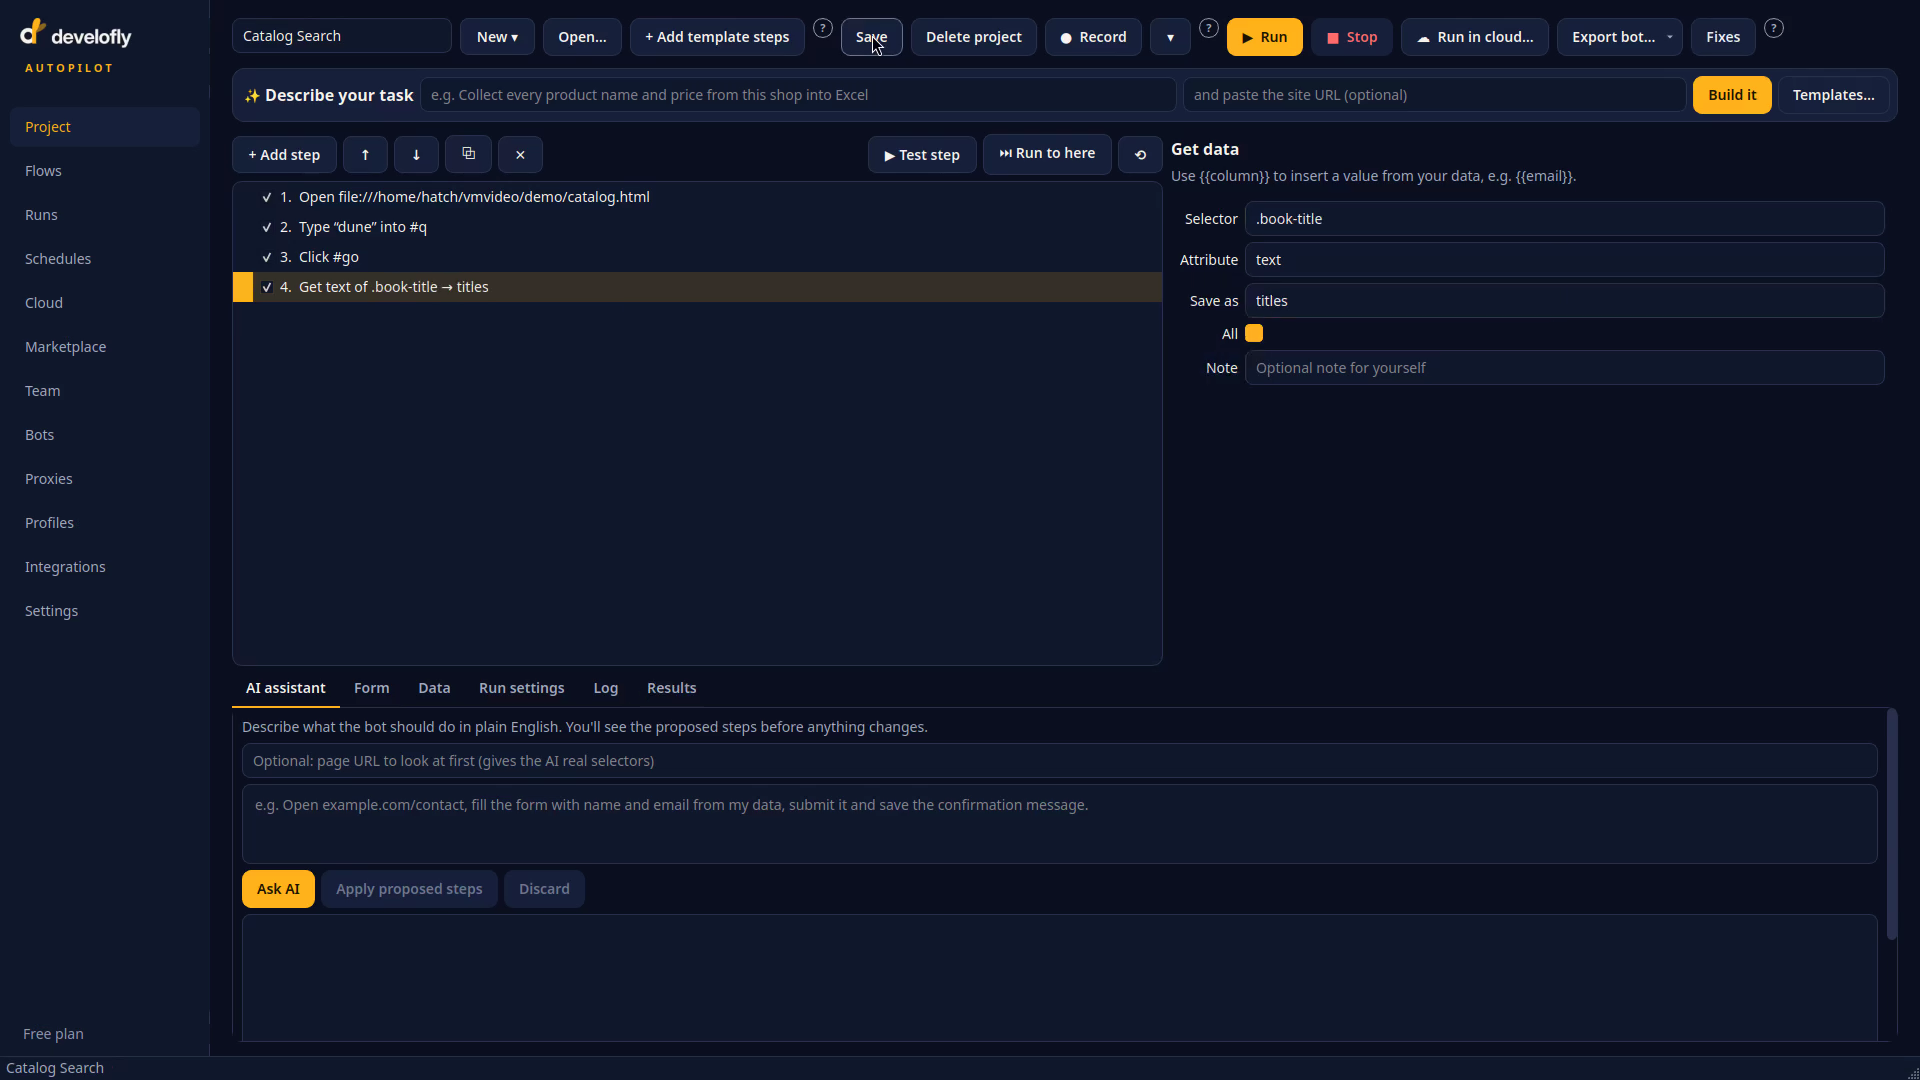
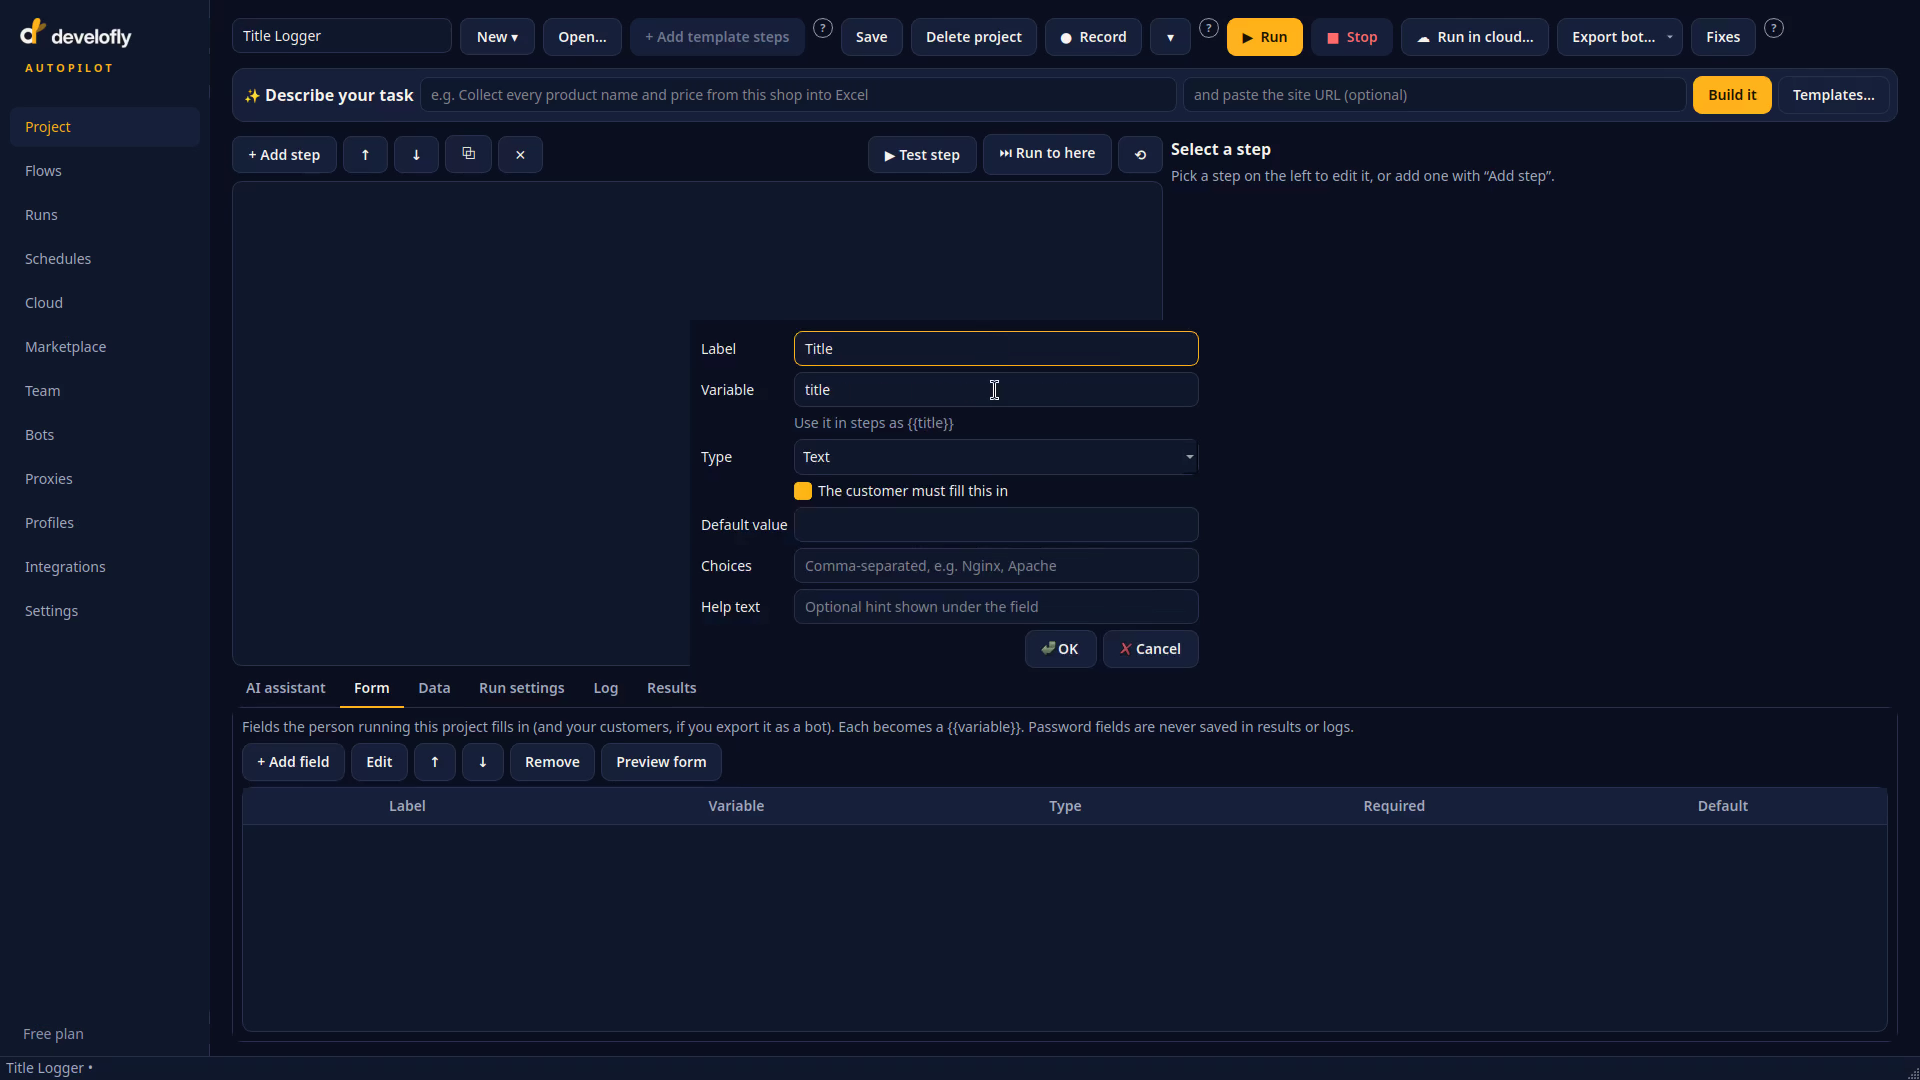
Step 5 — Bot 2: Title Logger, with a form field
Start a new blank project, name it Title Logger. Open the Form tab and add a field labelled Title — it becomes the variable {{title}} that other bots and flows can fill in. Then add one step, Add a result row, with the line title = {{title}}, and save. Run on its own, this bot writes one row to the results; in the flow, the loop will feed it.
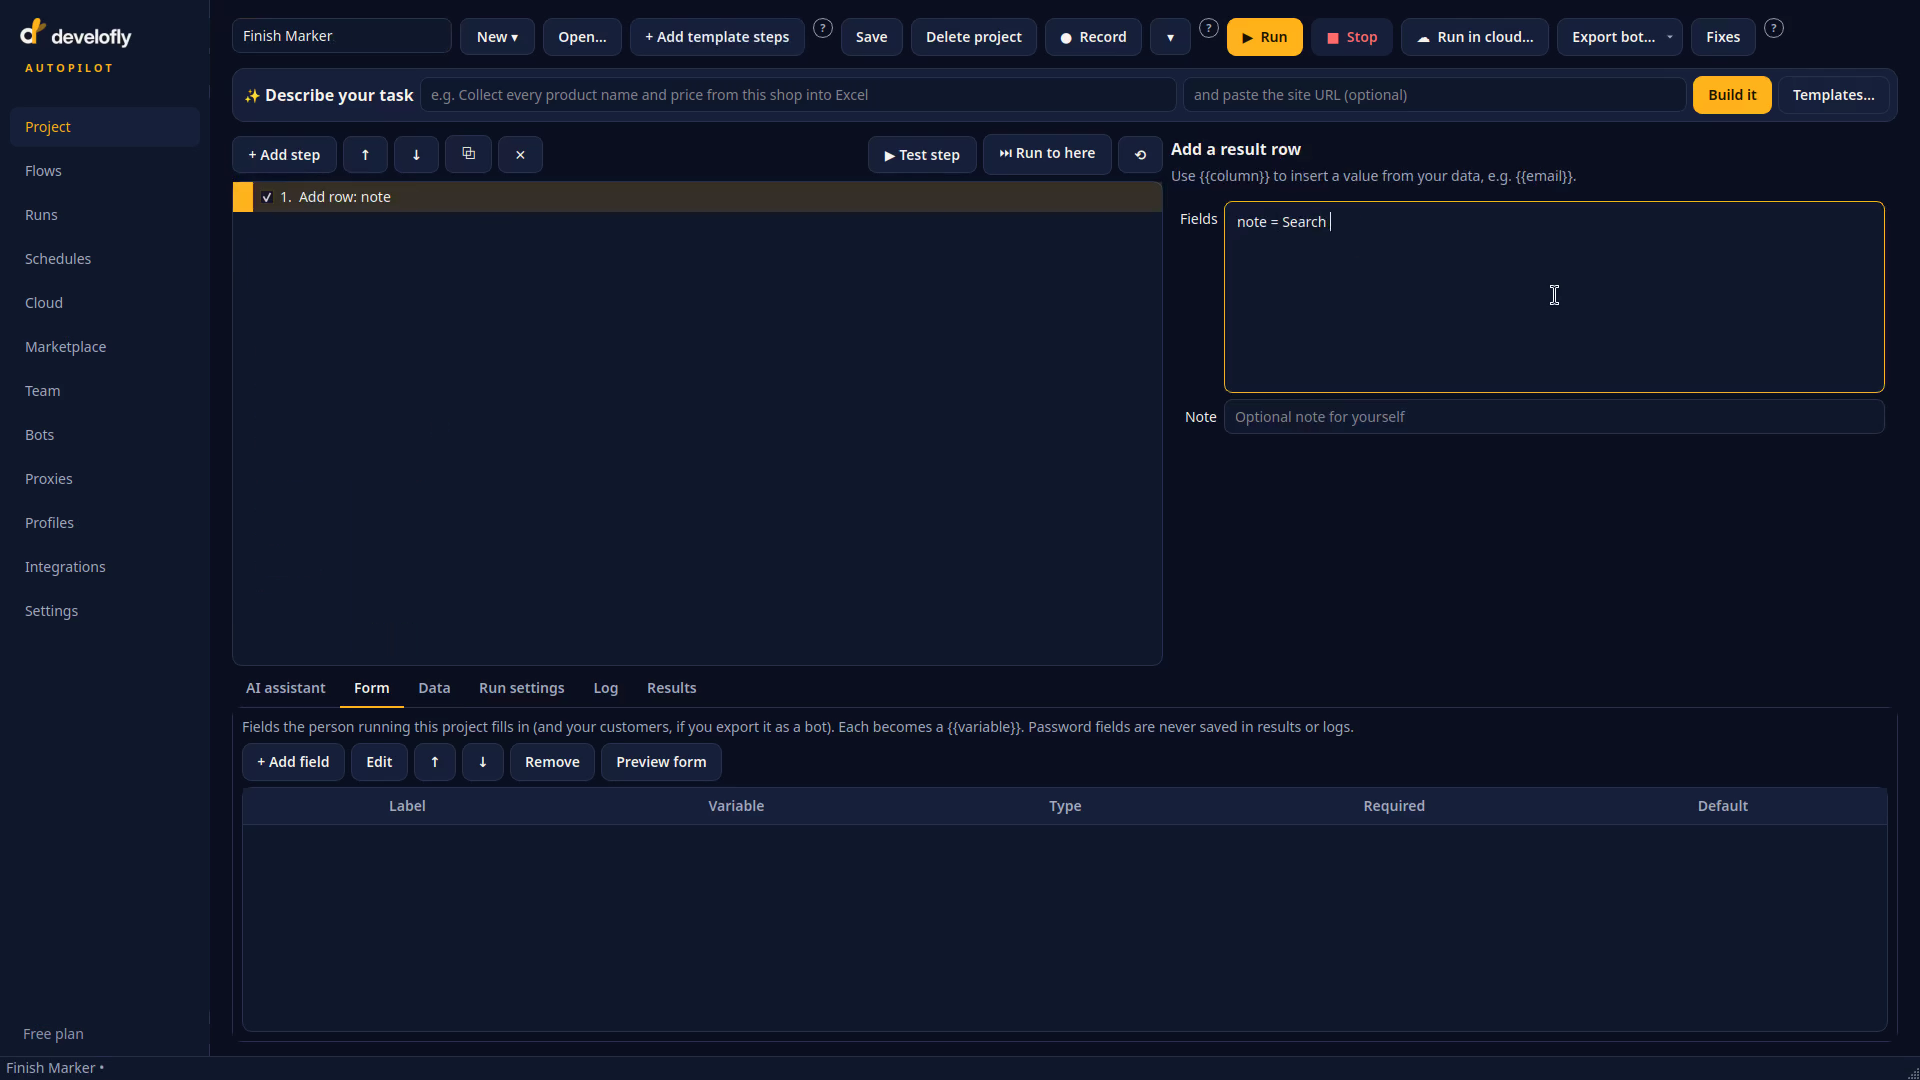
Step 6 — Bot 3: Finish Marker
One more new project, Finish Marker, with a single Add a result row step: note = Search complete. Save it. When this bot runs at the end of the flow, its row proves the loop finished.
Step 7 — Put the cards on the canvas
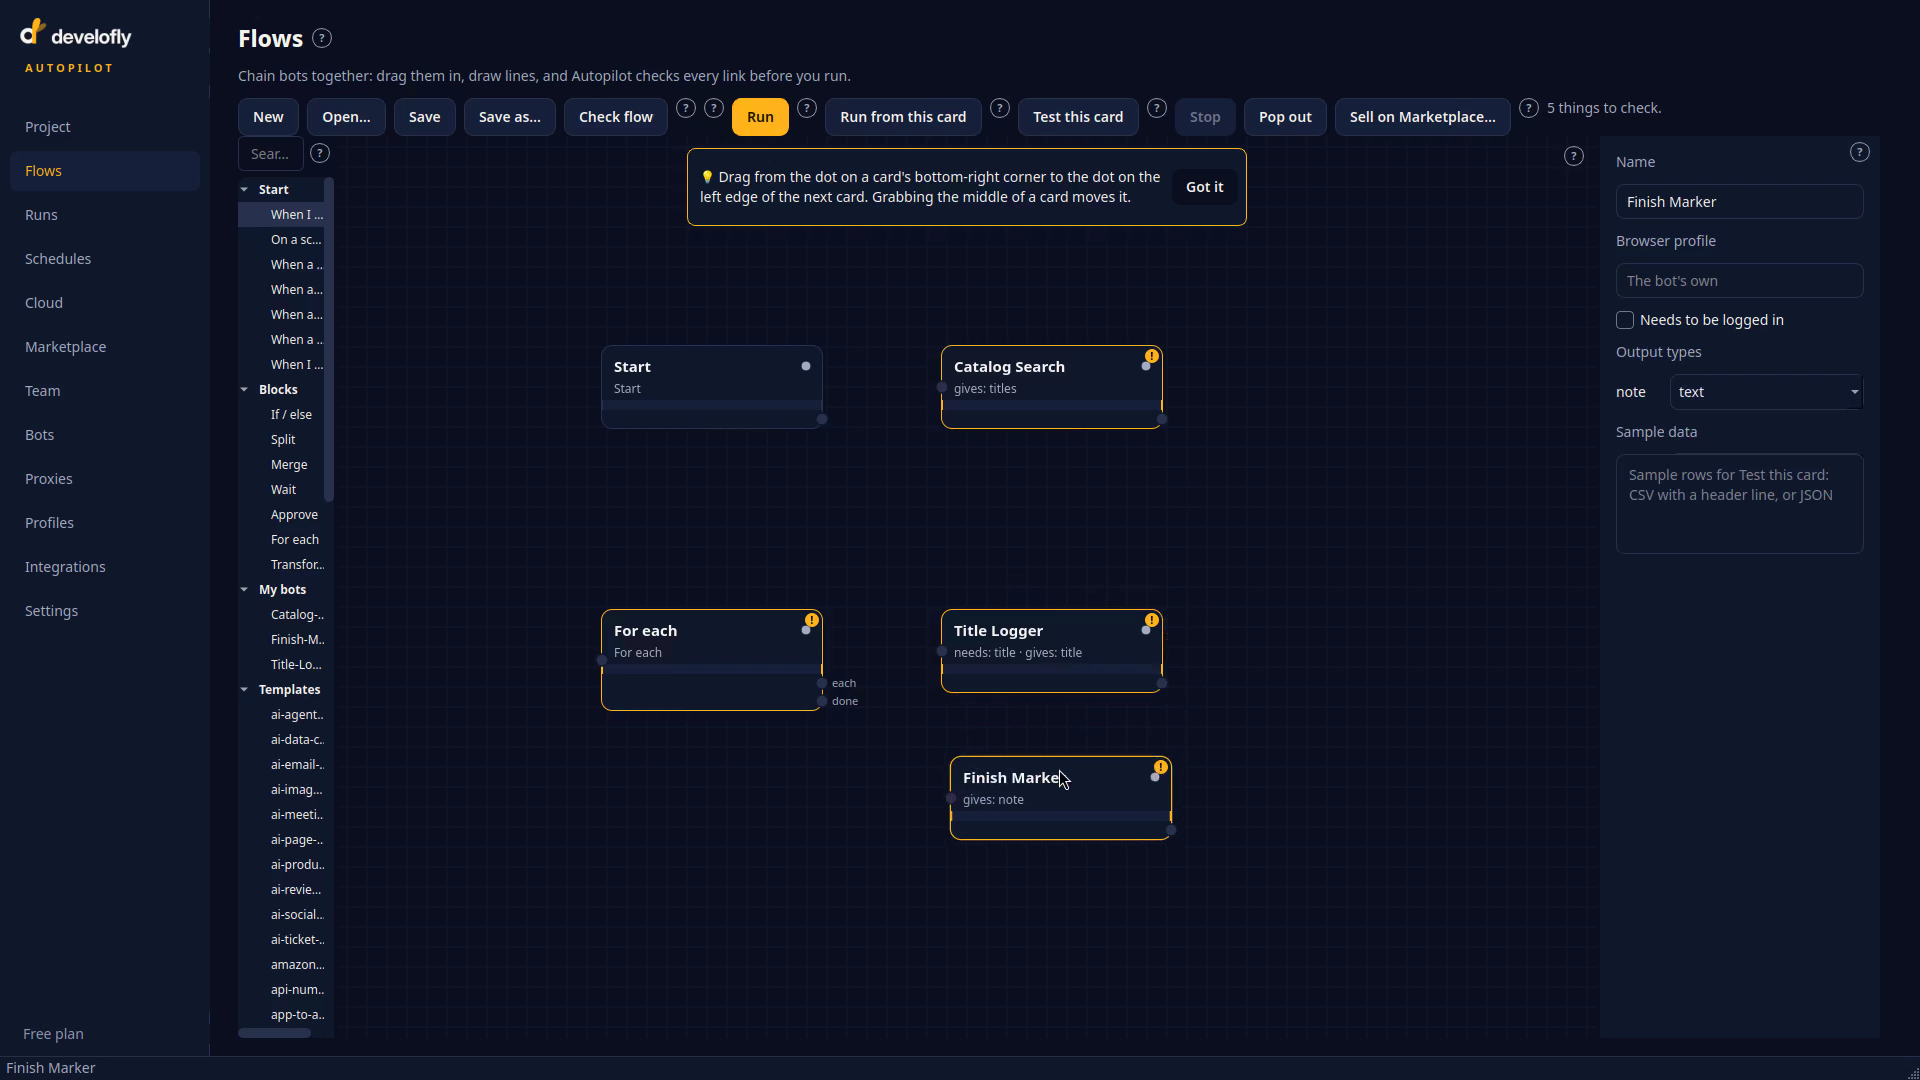
Open Flows and start a new flow. From the palette, double-click to add five cards: When I click Run (a manual trigger), Catalog Search, For each, Title Logger and Finish Marker. Arrange them left to right in the order the work happens.
Step 8 — Draw the connections
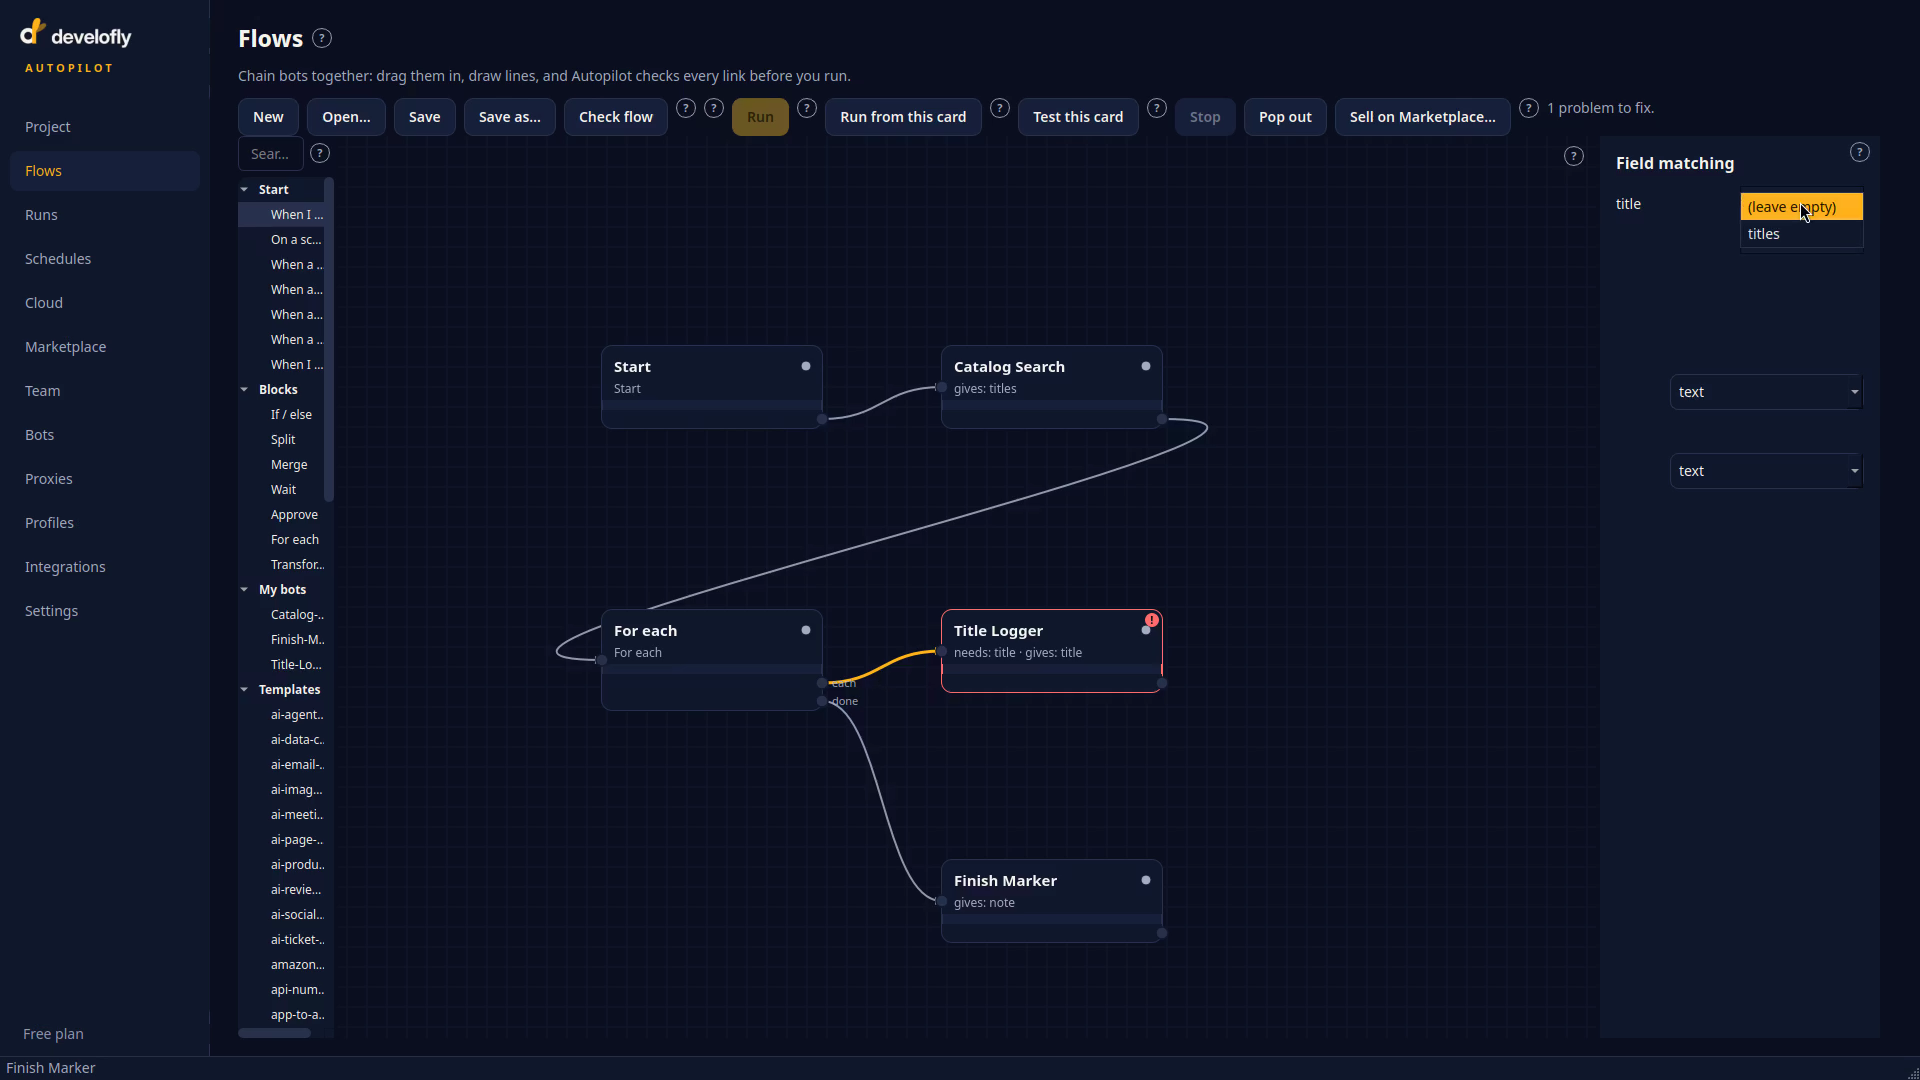
Drag a line from the trigger's output to Catalog Search, and from Catalog Search to For each. From the For each card, drag from its each output to Title Logger, and from its done output to Finish Marker. Set the loop to go over the titles list, and on the each connection map the loop's current item into Title Logger's Title field — that mapping is what turns one bot's list into another bot's input, one item at a time.
Step 9 — Check the flow
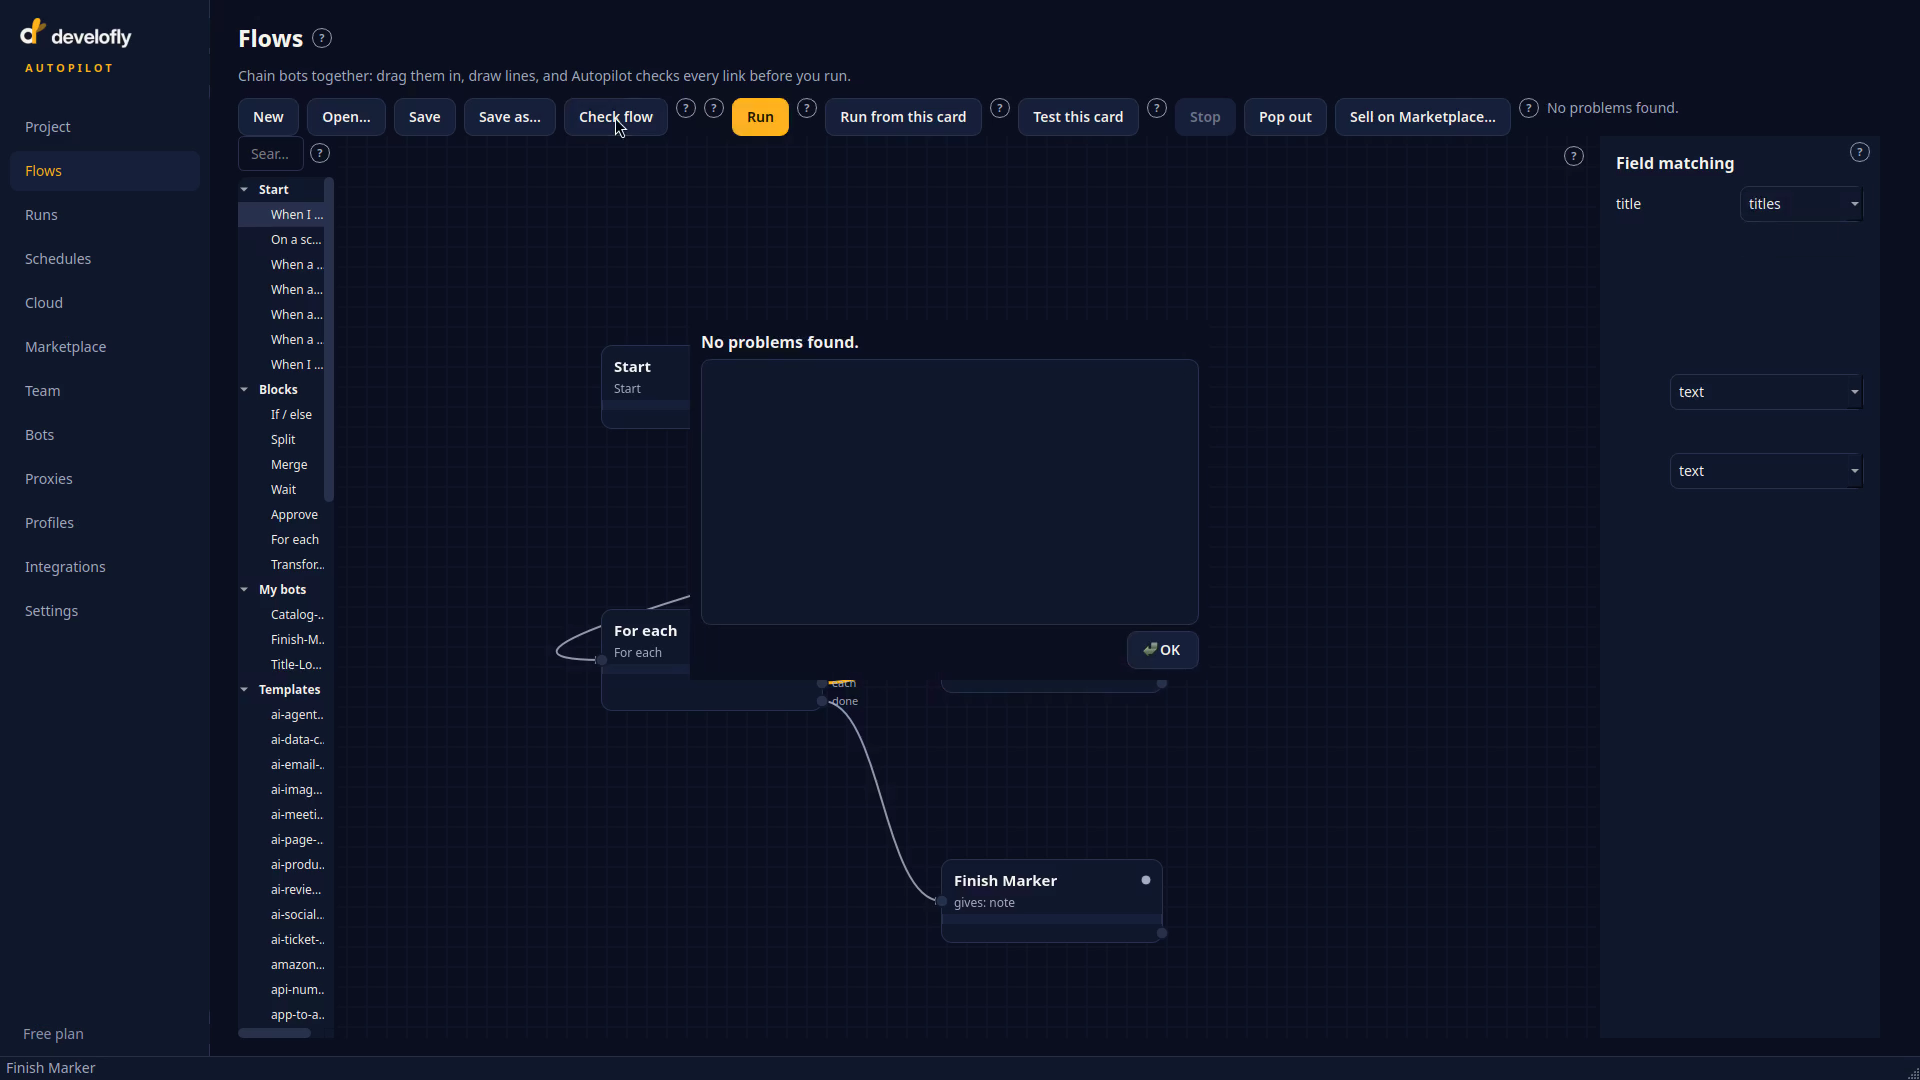
Press Check flow. Autopilot walks the drawing and confirms every card is connected and every input is fed. Fix anything it flags now, while it is still just a drawing.
Step 10 — Run it
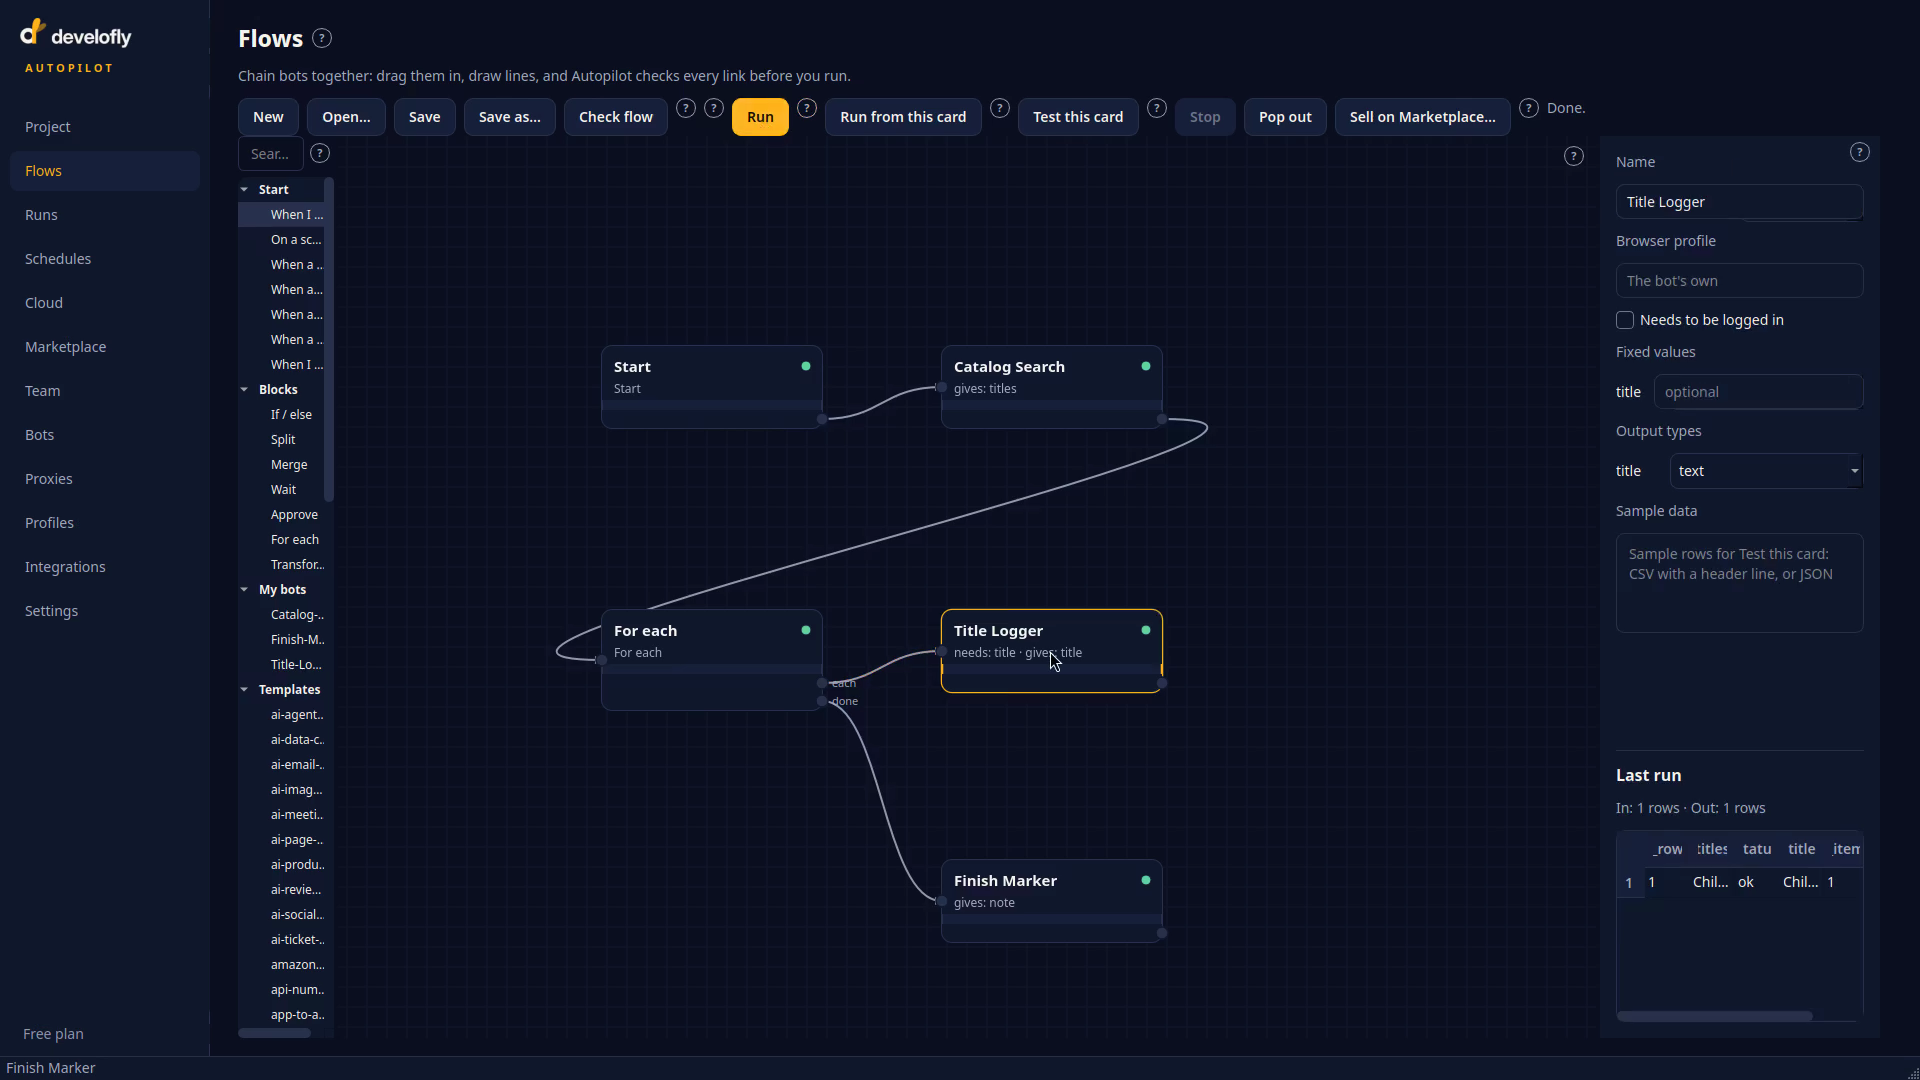
Press Run. The trigger fires Catalog Search, which searches the catalog and collects the three titles. For each hands them to Title Logger one at a time — Dune, Dune Messiah, Children of Dune — and each visit writes a result row. When the list is empty, the done output fires Finish Marker. Open Title Logger's card to see its three saved rows.
Step 11 — Schedule it and save the flow
Add one more palette card, On a schedule, set it to run daily at 09:00, and connect it to Catalog Search alongside the manual trigger. Press Save and name the flow Daily Catalog Search — saving registers the schedule, and the flow appears on the Schedules page, ready to run every morning whether or not the Autopilot window is open.